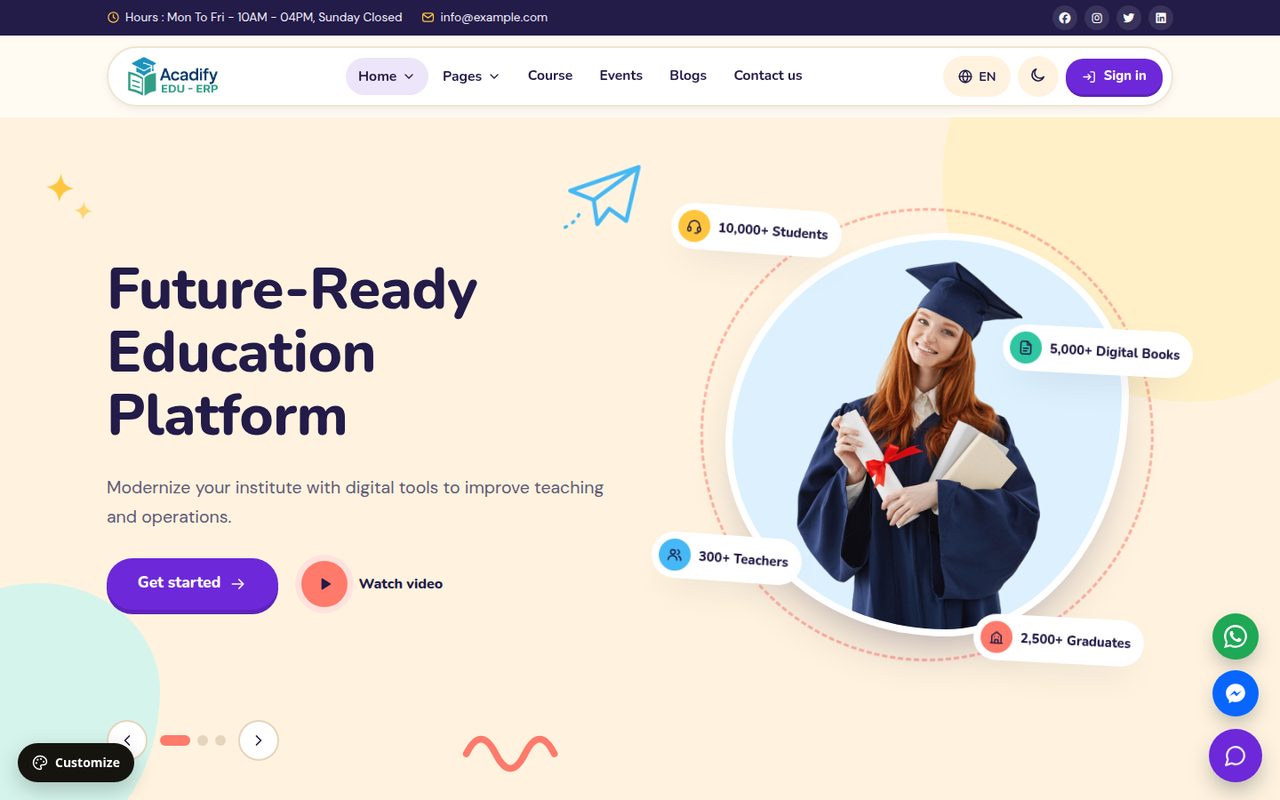
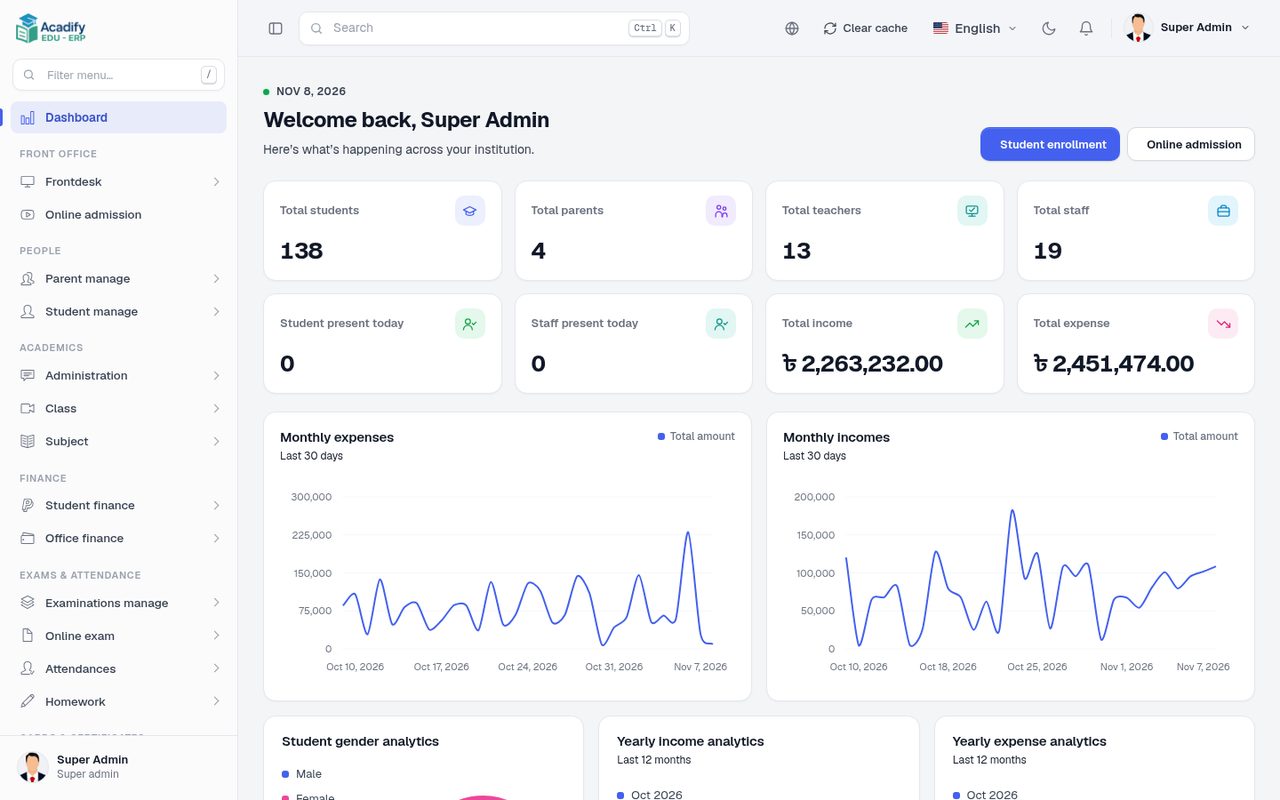
Acadify EDU ERP – School Management System (Website, Admin Panel & Student/Teacher App)
Quick Start
From the download to a working school website, admin panel and app
The Short Path
The shortest way from the download to a working school website and app.
Choose your hosting
There is a complete step-by-step guide for each kind of server, covering installation and updates. If you are new to Laravel, follow your guide instead of this summary.
The short path (with a terminal)
| Step | What you do | Time |
|---|---|---|
| 1 | Create an empty MySQL database | 2 min |
| 2 | Upload WebSourceCode and point the domain at public/ | 3 min |
| 3 | Create .env and the keys (three commands) | 1 min |
| 4 | Make folders writable | 1 min |
| 5 | Run the web installer | 3 min |
| 6 | Storage link and cron | 1 min |
| 7 | Set up the school: academic year, classes, subjects, teachers | — |
| 8 | Point the app at your site and run it | 2 min |
This summary uses a terminal (SSH, or cPanel Terminal) and needs PHP 8.2+ (8.3 recommended), MySQL 8 or MariaDB 10.6+. Full list: Requirements. No terminal? Use the cPanel guide. Updating an existing Acadify site? See updating on cPanel or a VPS.
1. Create the Database
Create a database and a user with all privileges on it (cPanel: MySQL Databases). Note the database name, user and password.
Use a new, empty database only for Acadify: the installer deletes every table in the database you give it.
2. Upload the Files
Upload the contents of Main_Files/WebSourceCode to your server, for example /var/www/acadify, and set the domain’s
document root to /var/www/acadify/public. On cPanel, upload the folder next to public_html and point the domain (or a subdomain) at its public folder
(how). Never put the whole project inside public_html.
3. Create .env and the Keys
In the project folder (where artisan is):
cp .env.example .env
php artisan key:generate
php artisan jwt:secret
key:generate sets the application key; jwt:secret sets the key that signs the mobile app’s login tokens (answer yes when it asks). Leave the database lines alone: the installer fills them in.
On a VPS run artisan as the web server user, for example sudo -u www-data php artisan key:generate. Commands run as root can leave cache files PHP cannot write, which shows up as a 500 error (why).
4. Make Folders Writable
chmod -R 775 storage bootstrap/cache public routes resources
chmod 664 .env
The installer checks that storage, public, routes, resources and .env are writable. On cPanel PHP usually runs as your own user, so this is often already fine.
5. Run the Web Installer
Open https://your-domain.com. A site that is not installed yet redirects to /install:
- Requirements: PHP version, MySQLi, cURL, GD,
allow_url_fopen,date.timezoneand the writable folders. Fix anything marked red. - Database: host
127.0.0.1, database user, password and database name. - Administrator: first name, last name, email and password. Click Finish.
The installer tests the connection, writes the database values to .env, creates the tables and default data, and makes your administrator account. Then sign in at /login.
6. Storage Link and Cron
php artisan storage:link
crontab -e          # on a VPS: sudo crontab -u www-data -e
# add this line:
* * * * * php /var/www/acadify/artisan schedule:run >> /dev/null 2>&1
cPanel: add the line in Cron Jobs with the full PHP 8.3 path (details).
The scheduler generates exam results once a day. Live chat works right away (refreshing every 10 seconds); for instant messages set up Reverb later (Live Chat).
7. Set Up the School
A new installation is empty. Create the basics in this order (details in the Admin Guide):
- , then select it as the current academic year in .
- , , ; , and .
- for your teachers (role Teacher).
- , then to assign a teacher to each subject of a class.
- to pick the class teacher who takes daily attendance.
- to add or import students, and to choose the website’s look.
8. Point the App at Your Site
Open Main_Files/AppSourceCode (one Flutter project for students and teachers) and either change the default in lib/utils/end_points.dart:
static const String baseUrl = String.fromEnvironment(
  'API_BASE_URL',
  defaultValue: 'https://your-domain.com/api/v1',
);
or pass it when you run or build:
flutter pub get
flutter run --dart-define=API_BASE_URL=https://your-domain.com/api/v1
Sign in with a student or teacher account from your site. Before you publish, change the package ID and build signed releases: Mobile App.
What Next
- Mail (SMTP): needed for password-reset codes. Do this early.
- Themes, WhatsApp and Facebook buttons and Live chat with Reverb.
- Languages and RTL, Roles and permissions.
- SSL and Backups.